


Fulfillment & Lead Time
Lead time and shipping options are confirmed during inquiry.
Brand & Distributor Terms
Eligibility, commercial terms, and any claim handling are confirmed during onboarding with brands and authorized distributors. Inquiry-only (no checkout)
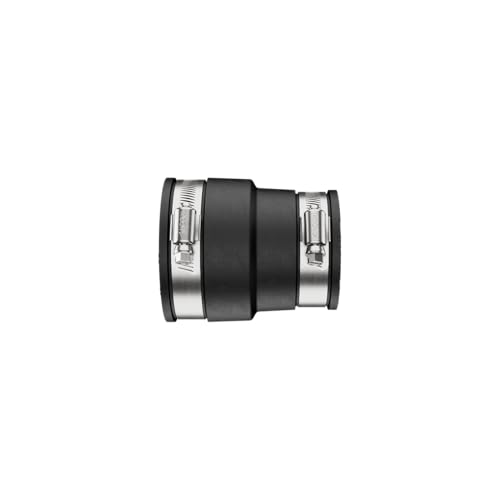
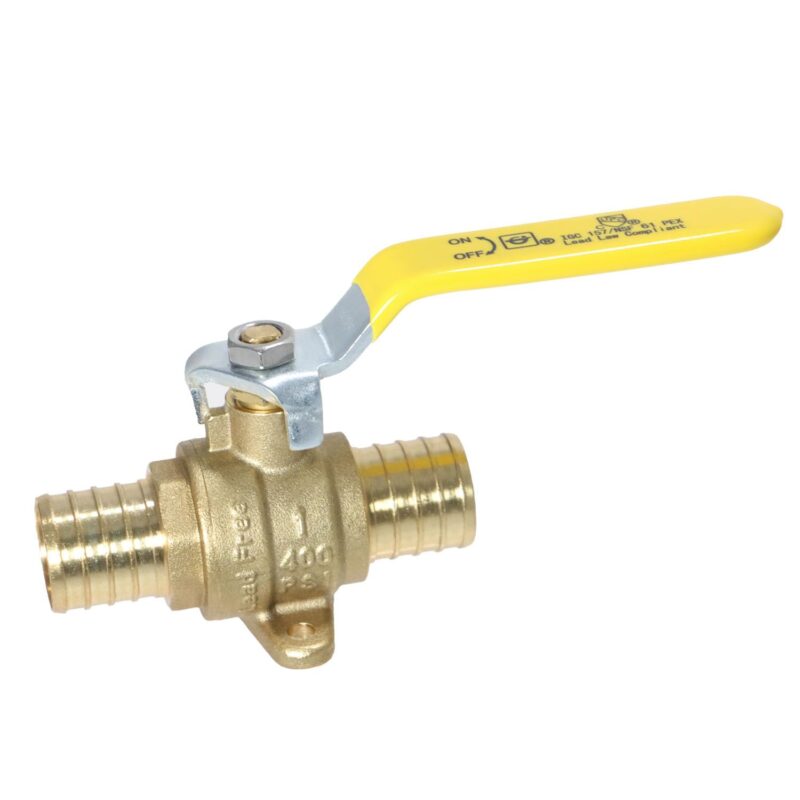
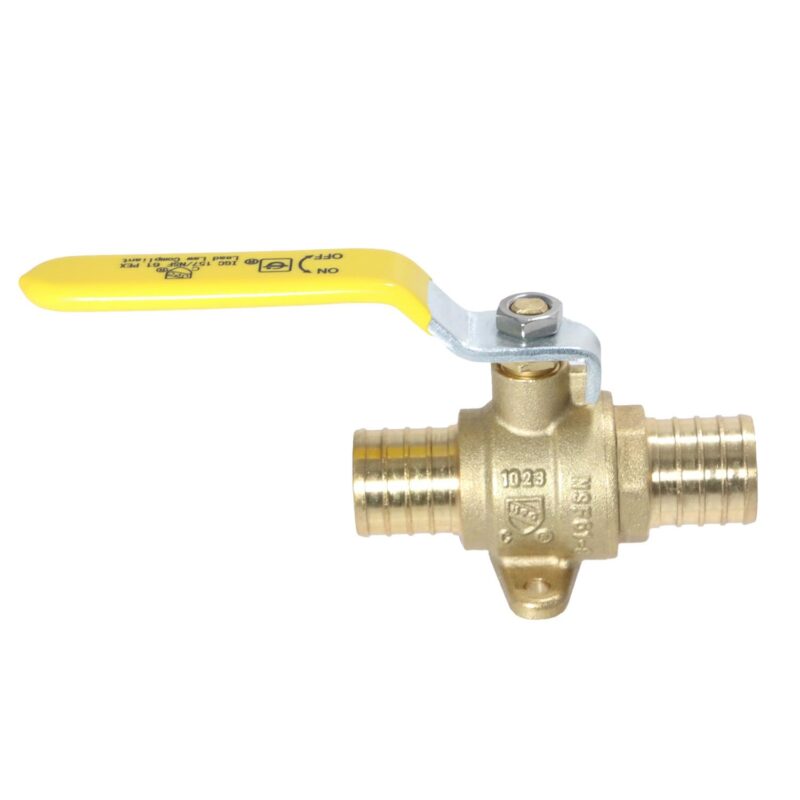
Description

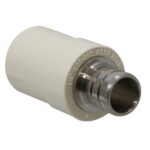
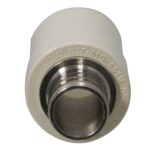
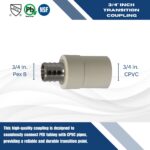
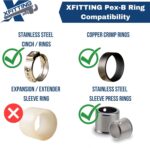
Types of PEX Fittings:
Crimp Fittings: These are the most common type of PEX fittings. They require a crimp tool to compress a metal ring (crimp ring) around the PEX pipe and fitting, creating a secure connection. Push-Fit Fittings: Also known as push-to-connect or quick-connect fittings, these fittings don’t require any special tools. They have a ring inside that grips the PEX pipe securely when pushed together. Compression Fittings: These fittings use compression nuts and rings to create a watertight seal. They are commonly used for repairs or when transitioning between PEX and other types of pipes. Expansion Fittings: Expansion fittings use a specialized tool to expand the PEX pipe, allowing the fitting to slide inside. When the pipe returns to its original size, it creates a tight seal around the fitting.

Installation Steps:
Prepare the Pipe: Cut the PEX pipe to the required length using a PEX pipe cutter. Ensure that the cut is clean and square. Deburr the Pipe: Use a deburring tool to remove any rough edges or burrs from the cut end of the pipe. This ensures a smooth connection and prevents damage to the fitting. Insert the Fitting: For crimp fittings, slide the crimp ring onto the pipe first, then insert the fitting into the end of the pipe until it reaches the shoulder of the fitting. Crimp the Ring: Position the crimp ring over the fitting and pipe joint, ensuring it is centered. Use a crimp tool to compress the ring firmly around the pipe. Check the manufacturer’s specifications for the correct crimping tool and technique. Check the Connection: After crimping, visually inspect the connection to ensure that the crimp ring is fully compressed and there are no gaps between the pipe and fitting. Pressure Test: Once all fittings are installed, pressure test the system to ensure there are no leaks. This involves pressurizing the system with air or water and checking for any drops in pressure over a period of time.

Tips for Working with PEX Fittings:
Use PEX-specific fittings designed for use with PEX piping systems to ensure compatibility and reliability. Follow manufacturer guidelines and local plumbing codes when selecting and installing PEX fittings. Use the appropriate size and type of fitting for your PEX pipe (e.g., PEX-A, PEX-B, PEX-C). Properly support and secure PEX piping to prevent stress on fittings and potential leaks. Consider using expansion fittings for installations in tight spaces or where maneuvering a crimp tool may be challenging. Keep a spare supply of fittings on hand in case of unexpected repairs or modifications.

Reviews
There are no reviews yet.